


Starting the Driving Horse
About a year ago, I wrote an article about the difference that I consider between long lining and ground driving, and why we do more long lining. There have been quite a few social media posts recently that I have come across where the author is struggling with their ground driving. This has made me realize that there are a lot of beginning carriage drivers who are unknowingly skipping some major steps in their training process. Below I will highlight a VERY brief synopsis of what we do as preparatory steps to train our driving horses. Each step builds on the next and skipping steps can create major confusion for the horse. Of course, the best way to train your horse is to work with a more experienced individual or at the very least, learn from a tried-and-true recommended resource such as these.
Step 1 – “Backyard” Showmanship

If you are not familiar with Showmanship in hand classes at local open shows, 4-H, even up to World-level breed shows, there are plenty of resources that talk about what it is. A quick web search for horse showmanship will bring up a multitude of articles and videos to explain it. Regardless, the basics of Showmanship is what is imperative for teaching a driving horse. There is no doubt that our horses who were very well-trained for Showmanship were MUCH easier to train to drive. This is because they learned all their basic manners and verbal cues in the process. The basics of Showmanship involved the horse learning to lead properly at your shoulder without pushing or pulling, to halt, to set their feet square, to stand until being asked to move off, to back, to turn away left and right, and to trot in hand. All of this is accomplished with the verbal (and body language) cues that you will use for driving, i.e., “Walk, Trot, Whoa, Stand, Set (feet), Back, Come (right), and Get (left)”. The reason I say that you need to teach “Backyard” Showmanship is that the upper-level Showmanship classes involve some competition nuances (mostly of the handler) unnecessary for a well-mannered horse. We don’t need to learn to hold our hands in a certain way or pivot the horse round and round to make a good driving horse. As boring as Showmanship is to watch, its maneuvers absolutely prepare a driving (or riding) horse for its next training requirements. Showmanship maneuvers can be done with younger horses (with the exception of pivoting on the hocks) through shorter lessons. Younger horses should not be “drilled” in Showmanship until their bodies and minds are mature enough to handle it.
Step 1a – Desensitization
While working on Showmanship, we also work on desensitizing the horse to things moving around it, on top of it, through its legs, etc. This is a whole other article on its own, and actually there are full books written on this subject, so we are not going to expand on this here. However, a well-desensitized horse is MUCH easier to train to drive AND this process helps develop trust between the horse and handler.
Step 2 – Leading in a circle
Once the horse knows how to lead at your shoulder going straight, you can lead him in a large circle as preparatory lessons for lunging, our next step. He should lead well going both to the left and to the right.
Step 3 – Staying on the circle
Now that your horse is comfortable in the large circle, you can start to move a little away from him so that he is going around the circle on his own. Make your lead line longer so that you are not right at his shoulder. He will want to revert to his Showmanship training and be at your shoulder, but you need to work to push him out on the circle. This is the start of him learning to “lead” like he would when he is being driven. Of course, you are still the leader of your group, but he is going to have to learn to be out there by himself like when he is being driven. These are the predecessors to the next step.
Step 4 – Teach him to lunge
Since he is starting to stay out on the circle on his own, we need to put our body in the center of the circle and “push” him forward by “aiming” our body at his hip. The biggest mistake that people make when lunging their horse is to get too far in front of the horse on the circle. This cues the horse to stop. By pointing ourselves towards the hip, we are encouraging forward movement. Our horses learn to walk, slow trot, working trot, strong trot, and halt all on the lunge line before we ever put a bit in their mouths. All the verbal cues they learned in Showmanship are still transferred to lunging and consistency is key. An entire article (or two!) could be written on teaching your horse to lunge, and there are resources out there for that, so we will leave it at this.
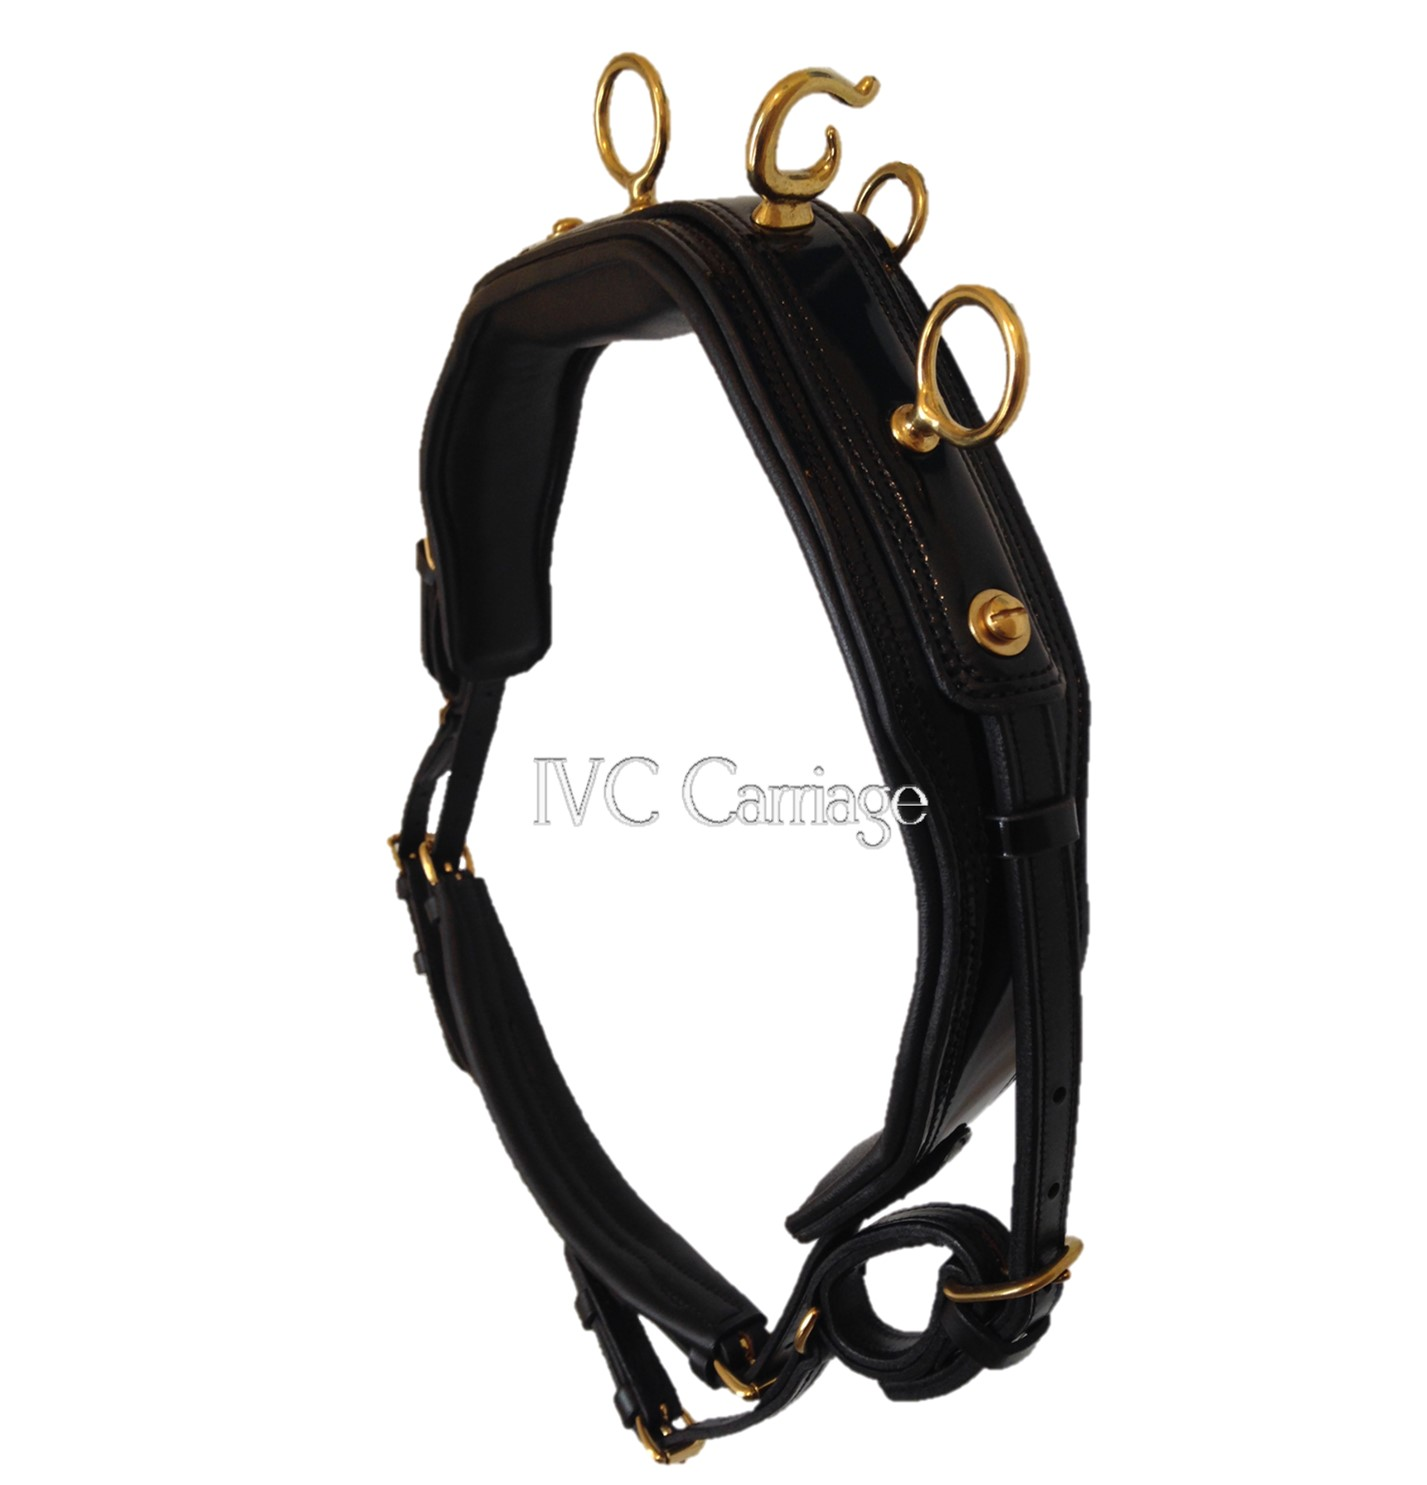
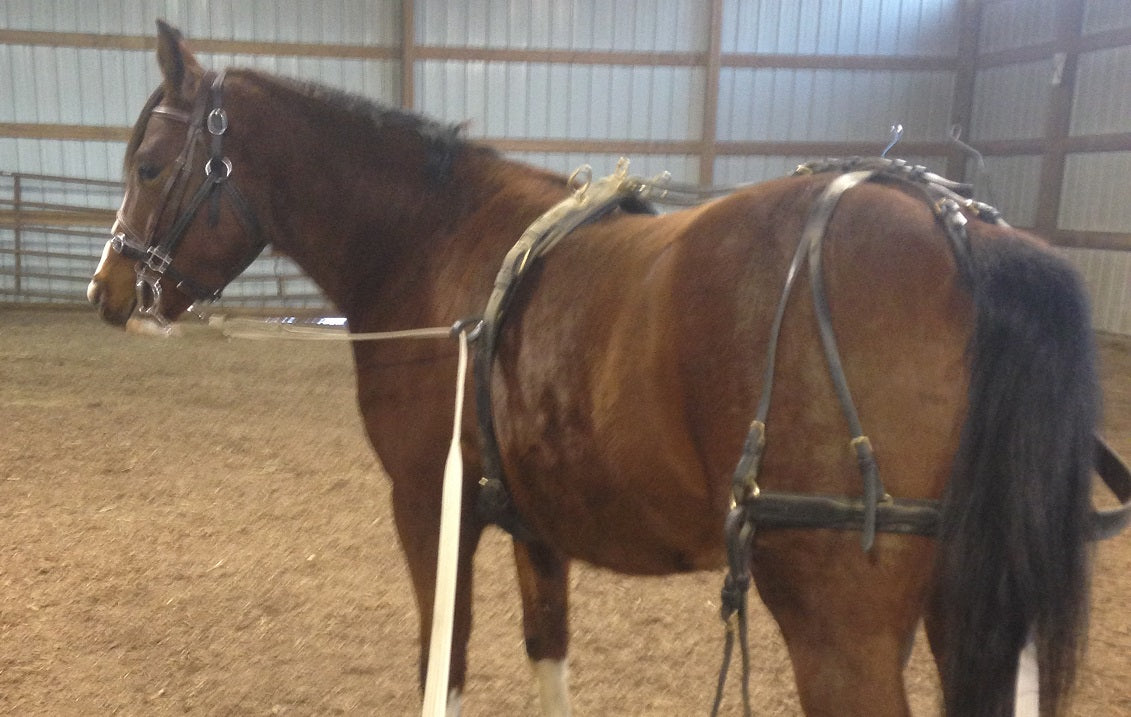
Step 5 – Wearing the harness
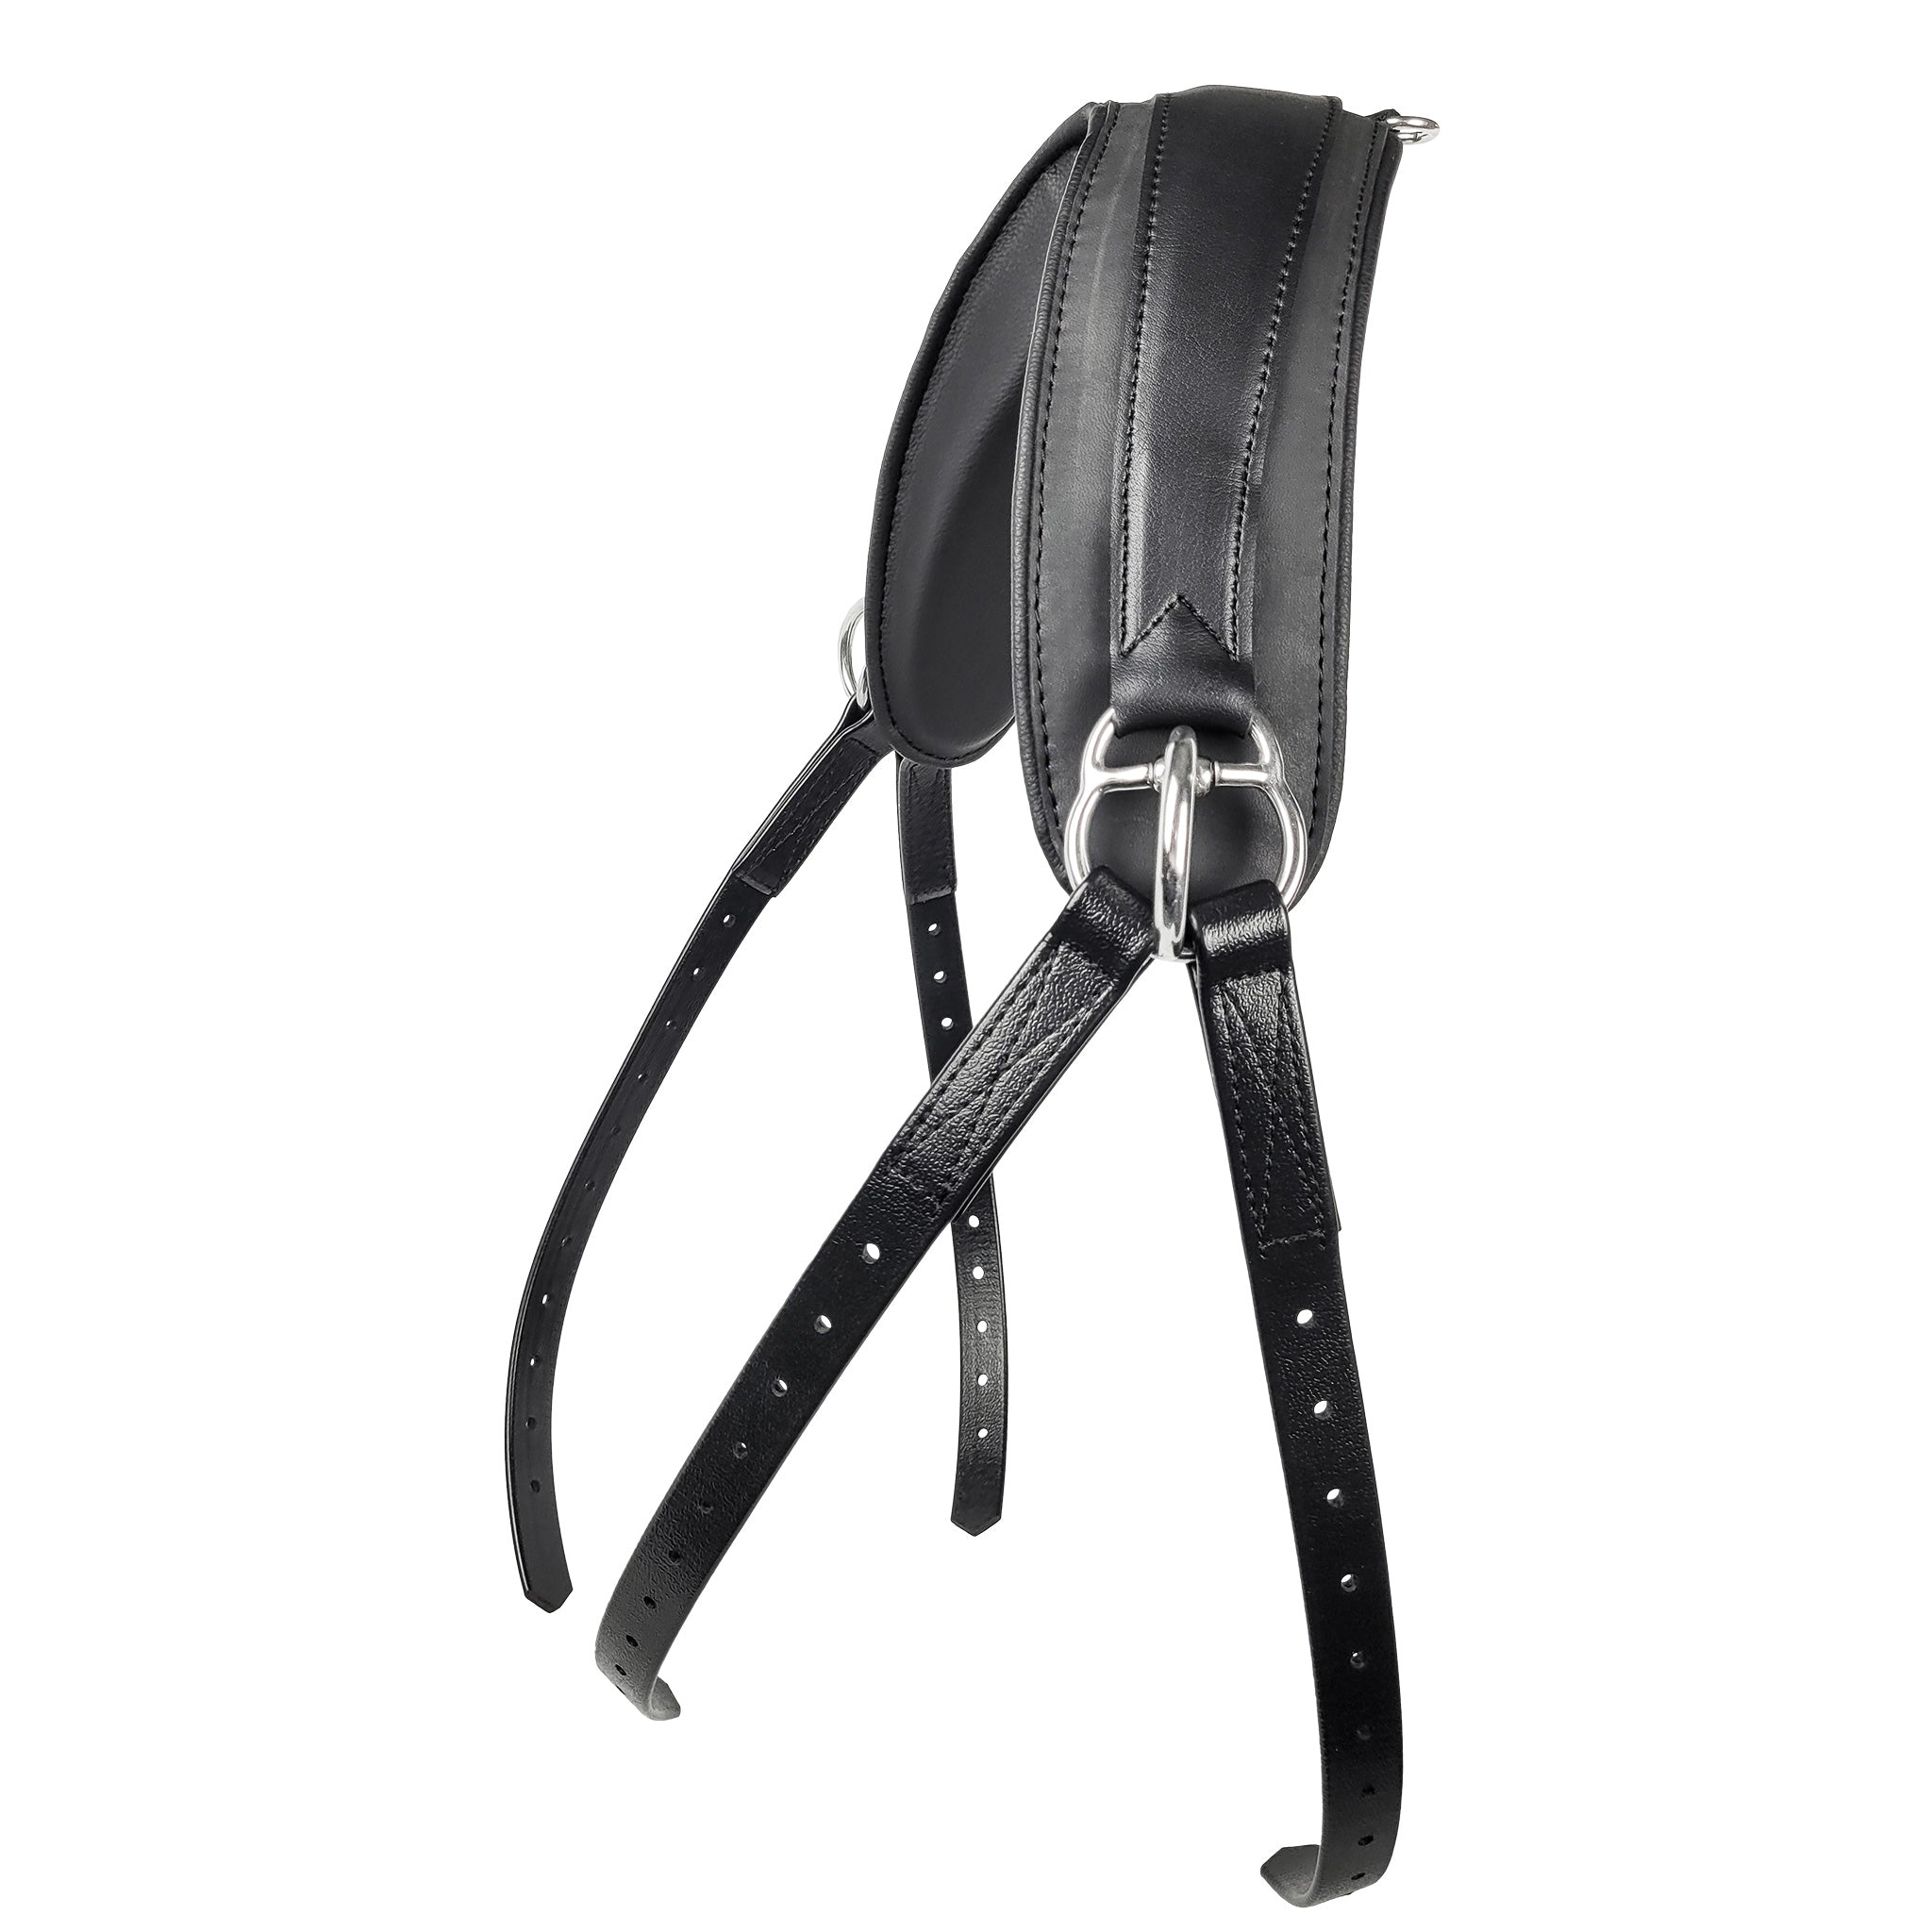
Wearing a harness is a foreign concept to the horse. He needs to learn to be comfortable wearing all that material all over his body. Again, we are not going to expand on this topic for the purposes of this article but will say that the first introduction to the harness should be in a well-controlled area like a stall. We also want his first harness to be comfortable for him; free of pinching, sharp edges, etc. Let him wear the harness (without the bridle) while eating, etc., but be sure to not leave him alone while wearing it. Allow the horse some time and a few lessons to accept the harness before moving to the next steps.
Step 5a – Leading and lunging with the harness

We want the horse to get used to the snug girth, the backstrap, the hip strap, and the crupper moving around on him while leading and lunging. The breeching straps need to be removed or drawn up in a way that they won’t drag on the ground. We generally don’t put the breast collar and traces on our horse when we are lunging with him the first few times. We will add the breast collar and traces when we are ready to hook him to the shaft trainers or weight later in the training process. Walk the horse first until he accepts the harness moving around on him before asking for faster gaits.
Step 6 – Bitting
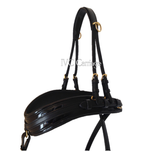
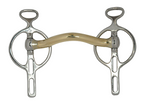
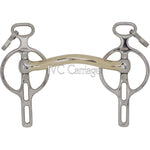
We are going to assume that the horse we are working with has never had a bit in its mouth for the purpose of this article. If the horse already rides, we need to consider a whole bunch of other parameters before bitting the horse for driving. We like to use as simple a bit as possible for a young horse, one that he learns to hold, not play with, and is mild. For us, that is a correctly-sized mullen snaffle. We also use a Bowman Victory Boucher which provides more tongue relief from the start and encourages him to leave his tongue under the bit. For more information on bitting the driving horse, see our collection of articles. We use what is called an open bridle (basically a driving bridle without the blinders, or a hunt seat bridle with a caveson) for our horse’s early bitting training. Getting the horse to accept the bit is also another article, so we won’t expand on that here. However, I will say that he needs to accept the bit BEFORE we move into the next step!
Step 7 – Lunging with the bit
He knows how to lunge with a forward walk, three distinct trots, and an immobile halt. Now we can add the bridle and bit. The open bridle is necessary to help the horse develop confidence so he can see where you are. It should be well-adjusted on the horse’s head and the bit in the proper location in the horse’s mouth. There should not be any reins on the bridle. Put the bridle on the horse’s head and a halter OVER the top of the bridle. Now go lunge your horse with the lunge line attached to the halter just like before. He may not be as perfect on the lunge line as he has been because he now has more to think about with that bit in his mouth. Give him grace until he figures it out. We generally don’t put the harness on the horse the first time we are bitting, as he will have enough to think about with the bridle and bit. Don’t move onto the next step until he is comfortable and listening again in this step.
Step 8 - Lunging with the harness AND bridle
You can see that we are using each step as a progression towards the next. Now is the time to have him wear both the harness and the open bridle with bit. The halter, again, is over the bridle and the lunge line is attached to the halter ring.
 Step 9 – Start to long line (or double lunge)
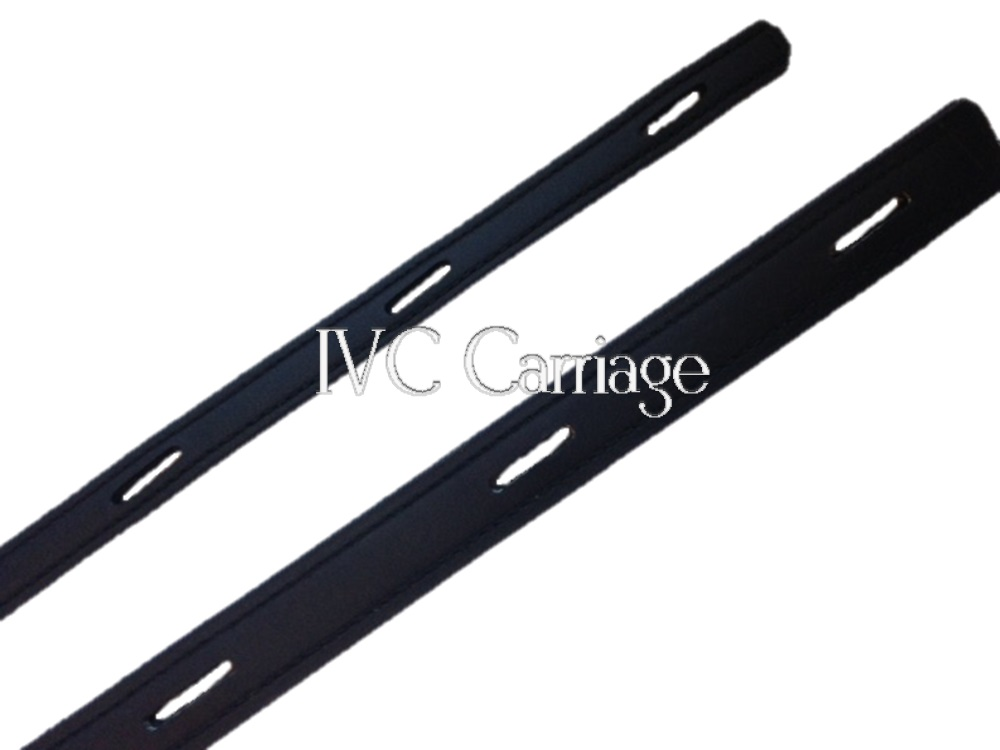
The beauty of long lining in a circle is that you are already using the horse’s comfort zone of the circle to introduce him to responding to the bit. He knows how to stay out on the circle, he knows the verbal cues you have been using, he knows what the gaits are that you have been calling, and he knows halt, the most important gait. Put the inside long line on the ring of the bit and back to your hand, and the outside one on the ring of the bit, through the saddle tug, around the haunches of your horse (remember, he has already been desensitized to stuff around his legs in the steps above), and back to your hand. In some cases, I might put the inside long line through the inside saddle tug as well; it just depends on what that horse needs at that time. Again, remember that you are still in the middle of the circle to long line.

This may be the first time that the horse has contact on his mouth unless you have had him in some loose side reins, etc. in the stall when learning to accept the bit (I don’t suggest this for the average beginner driver). So steer him gently and be ready for him to completely misunderstand what you are asking. Use your established verbal cues to give him something familiar with which to understand. Keep these lessons short and positive. All you want the horse to do at this point is go around on the circle AT A WALK and halt a few times. Then stop and go back to putting the lunge line on the halter ring.

Long lining is an art that requires practice and patience. It also requires contact. If you have too light of contact, your horse will be all over the place and not stay out on your circle. If your contact is too heavy, your horse will be frustrated and not go forward. While long lining, the horse learns to go forward with contact, to steer with the bit, to trot in various speeds, and to (eventually) halt on the bit. This is almost impossible to teach while walking (or running) behind. Again, this is a VERY brief discussion of long lining, and this is really where you need to be referencing good resources for more expanded discussions on this.
Step 10 – Long lining to line driving
Only when the horse has fully comprehended and is long lining well on the circle do I leave the center of the circle to drive him from behind. We do some steering on the circle by making “targets” of pairs of cones through which we drive on the circle, deviating from a larger circle to a smaller circle and back. Eventually, we move those cones around so that we are steering the horse left and right through the cones while keeping our body on the inside of each turn. This requires us to go behind the horse to get to his other side to be on the inside of the next turn if per se we are turning left and then a sudden right (later in our training). Very rarely will I actually drive him in a straight line while walking behind (or just off to the side). It is too hard to maintain proper contact while doing so. And it's too much work! I am not going to run behind my horse! I talk more about that in this article. 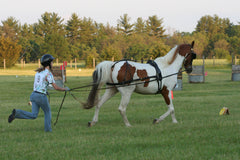
From long lining, we eventually need to get to the next steps of pulling a shaft trainer or weight, and eventually being put to the carriage. However, this article was obviously just a few points made about a much more complicated process of starting the driving horse to this stage. It is meant to introduce you to steps that you may not have considered in the development of your driving horse. Each step breaks the process down into smaller, more easily comprehended stages, and provides the building blocks for the next. The time it takes to get from Step 1 to Step 10 can vary depending on the experience level of both the horse and the trainer. A good trainer may be able to get the horse through these steps in a matter of days (depending on the age of the horse), whereas a beginner should probably take weeks to build these foundations. If all these steps are not taken in the training process by an inexperienced handler, problems will quickly arise and may actually set the horse back in his training, requiring some remedial lessons to correct the problems.
This article is also not to say that there aren’t other ways that experienced trainers teach driving horses. There are many ways to do so! However, again, many of those other methods require a much more expanded knowledge base, different equipment, and maybe a schoolmaster horse to help! It is beneficial for beginners to follow a process such as above to produce a congenial, controlled, competent, and confident driving horse. 
- Choosing a selection results in a full page refresh.
4 comments
Polly Fischer
Thank you very much for this introduction to begin to drive my horse. I’m in need of a good driving bit for him. I am going to the trainer on Thursday and with your help will order a beginning bit. Thank you for sharing your knowledge with us!
Steph
Great article, thanks
Barbara B
Soo helpful!!!
Start with the basics!!!!
Lindsay
Thank you
Clear concise steps 1 through 10
I love these building blocks